Obsidian, ASS, and Woodworking
2020-07-13Quick post today.
Pretty productive weekend, and last week, on several different things.
Obsidian.md
You should get Obsidian. It’s a Markdown-based personal knowledge management tool, and it hooks up super easy to dropbox.
Basically, Obsidian is a personal wiki. It’s very new, and I think it may have even been started after my youtube video about using wikis for campaign planning. Which it appears I may have never finished uploading.
There are several killer features here in Obsidian.
- Ctrl-click on links in edit mode to navigate to them
- graph view shows the network of your notes
- keyboard navigable
- open, friendly community
[[wiki syntax links]]- link auto-complete
- awareness of missing pages
I can’t gush about Obsidian enough, but to keep it short, it’s pretty much the best personal wiki I’ve ever used. It’s completely revived my enjoyment of writing and planning. I’ve spent many hours already planning a new campaign in it. I’ve already spent many hours making new art notes and studying when I should have been doing something else. It’s awesome, and I want to switch all my notes and campaign plans over to it, including
- Biggish Shard Oubliette remote game
- Antum version 2
- my personal notebook
- #woodworking notes
- art wiki
ASS
Stands for “The Anti-Strahd Squad”.

This is our group for @fluffysnowfall’s Curse of Strahd campain. We wrapped up a few weeks back and I’ve been working on a commission portrait of the group. #work in progress obviously. From left to right
- Au’bryn the drow bloodhuntress / barbarian
- Rosa, the silver dragonborn barbarian
- Eddy, the water genasi ranger / paladin
- Carmilla, barovian human barbarian / paladin (that’s me)
- Katriel, the elven eldritch knight fighter
screaming in barbarian
Woodworking
I’ve got a lot of projects coming up, so I figured that I’d build some stuff for the shop this weekend. I made two projects:
A Stool
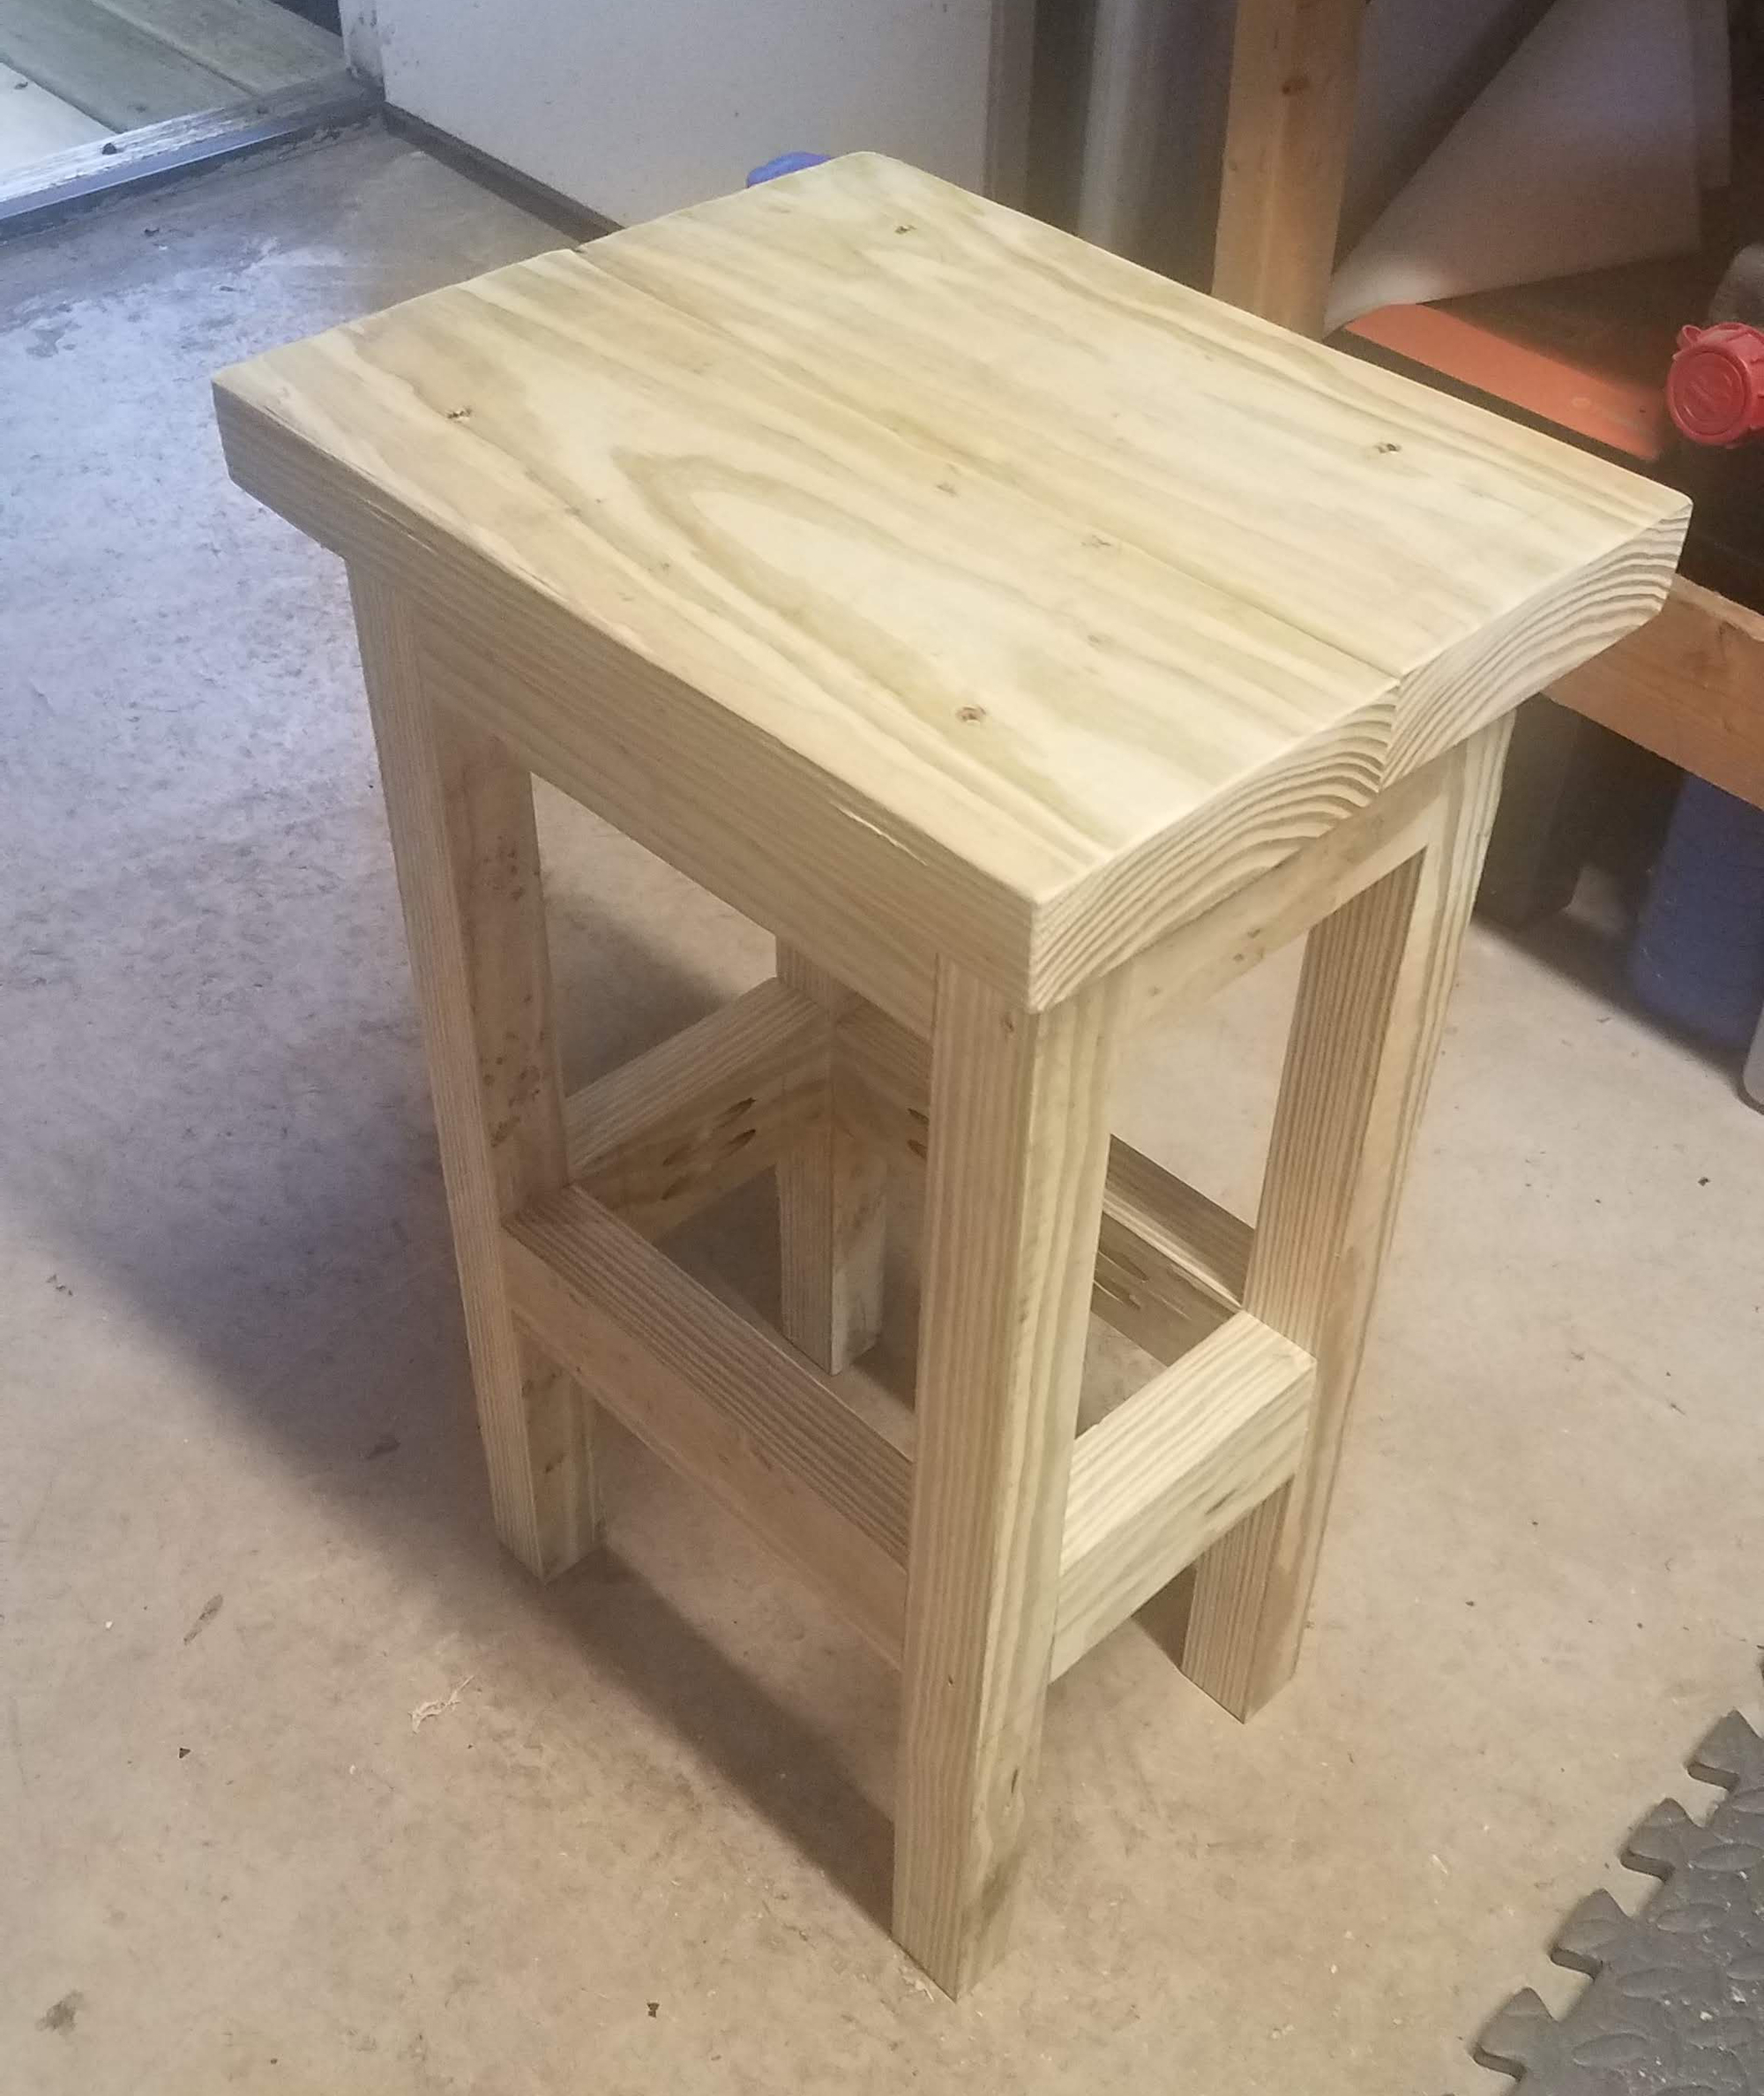
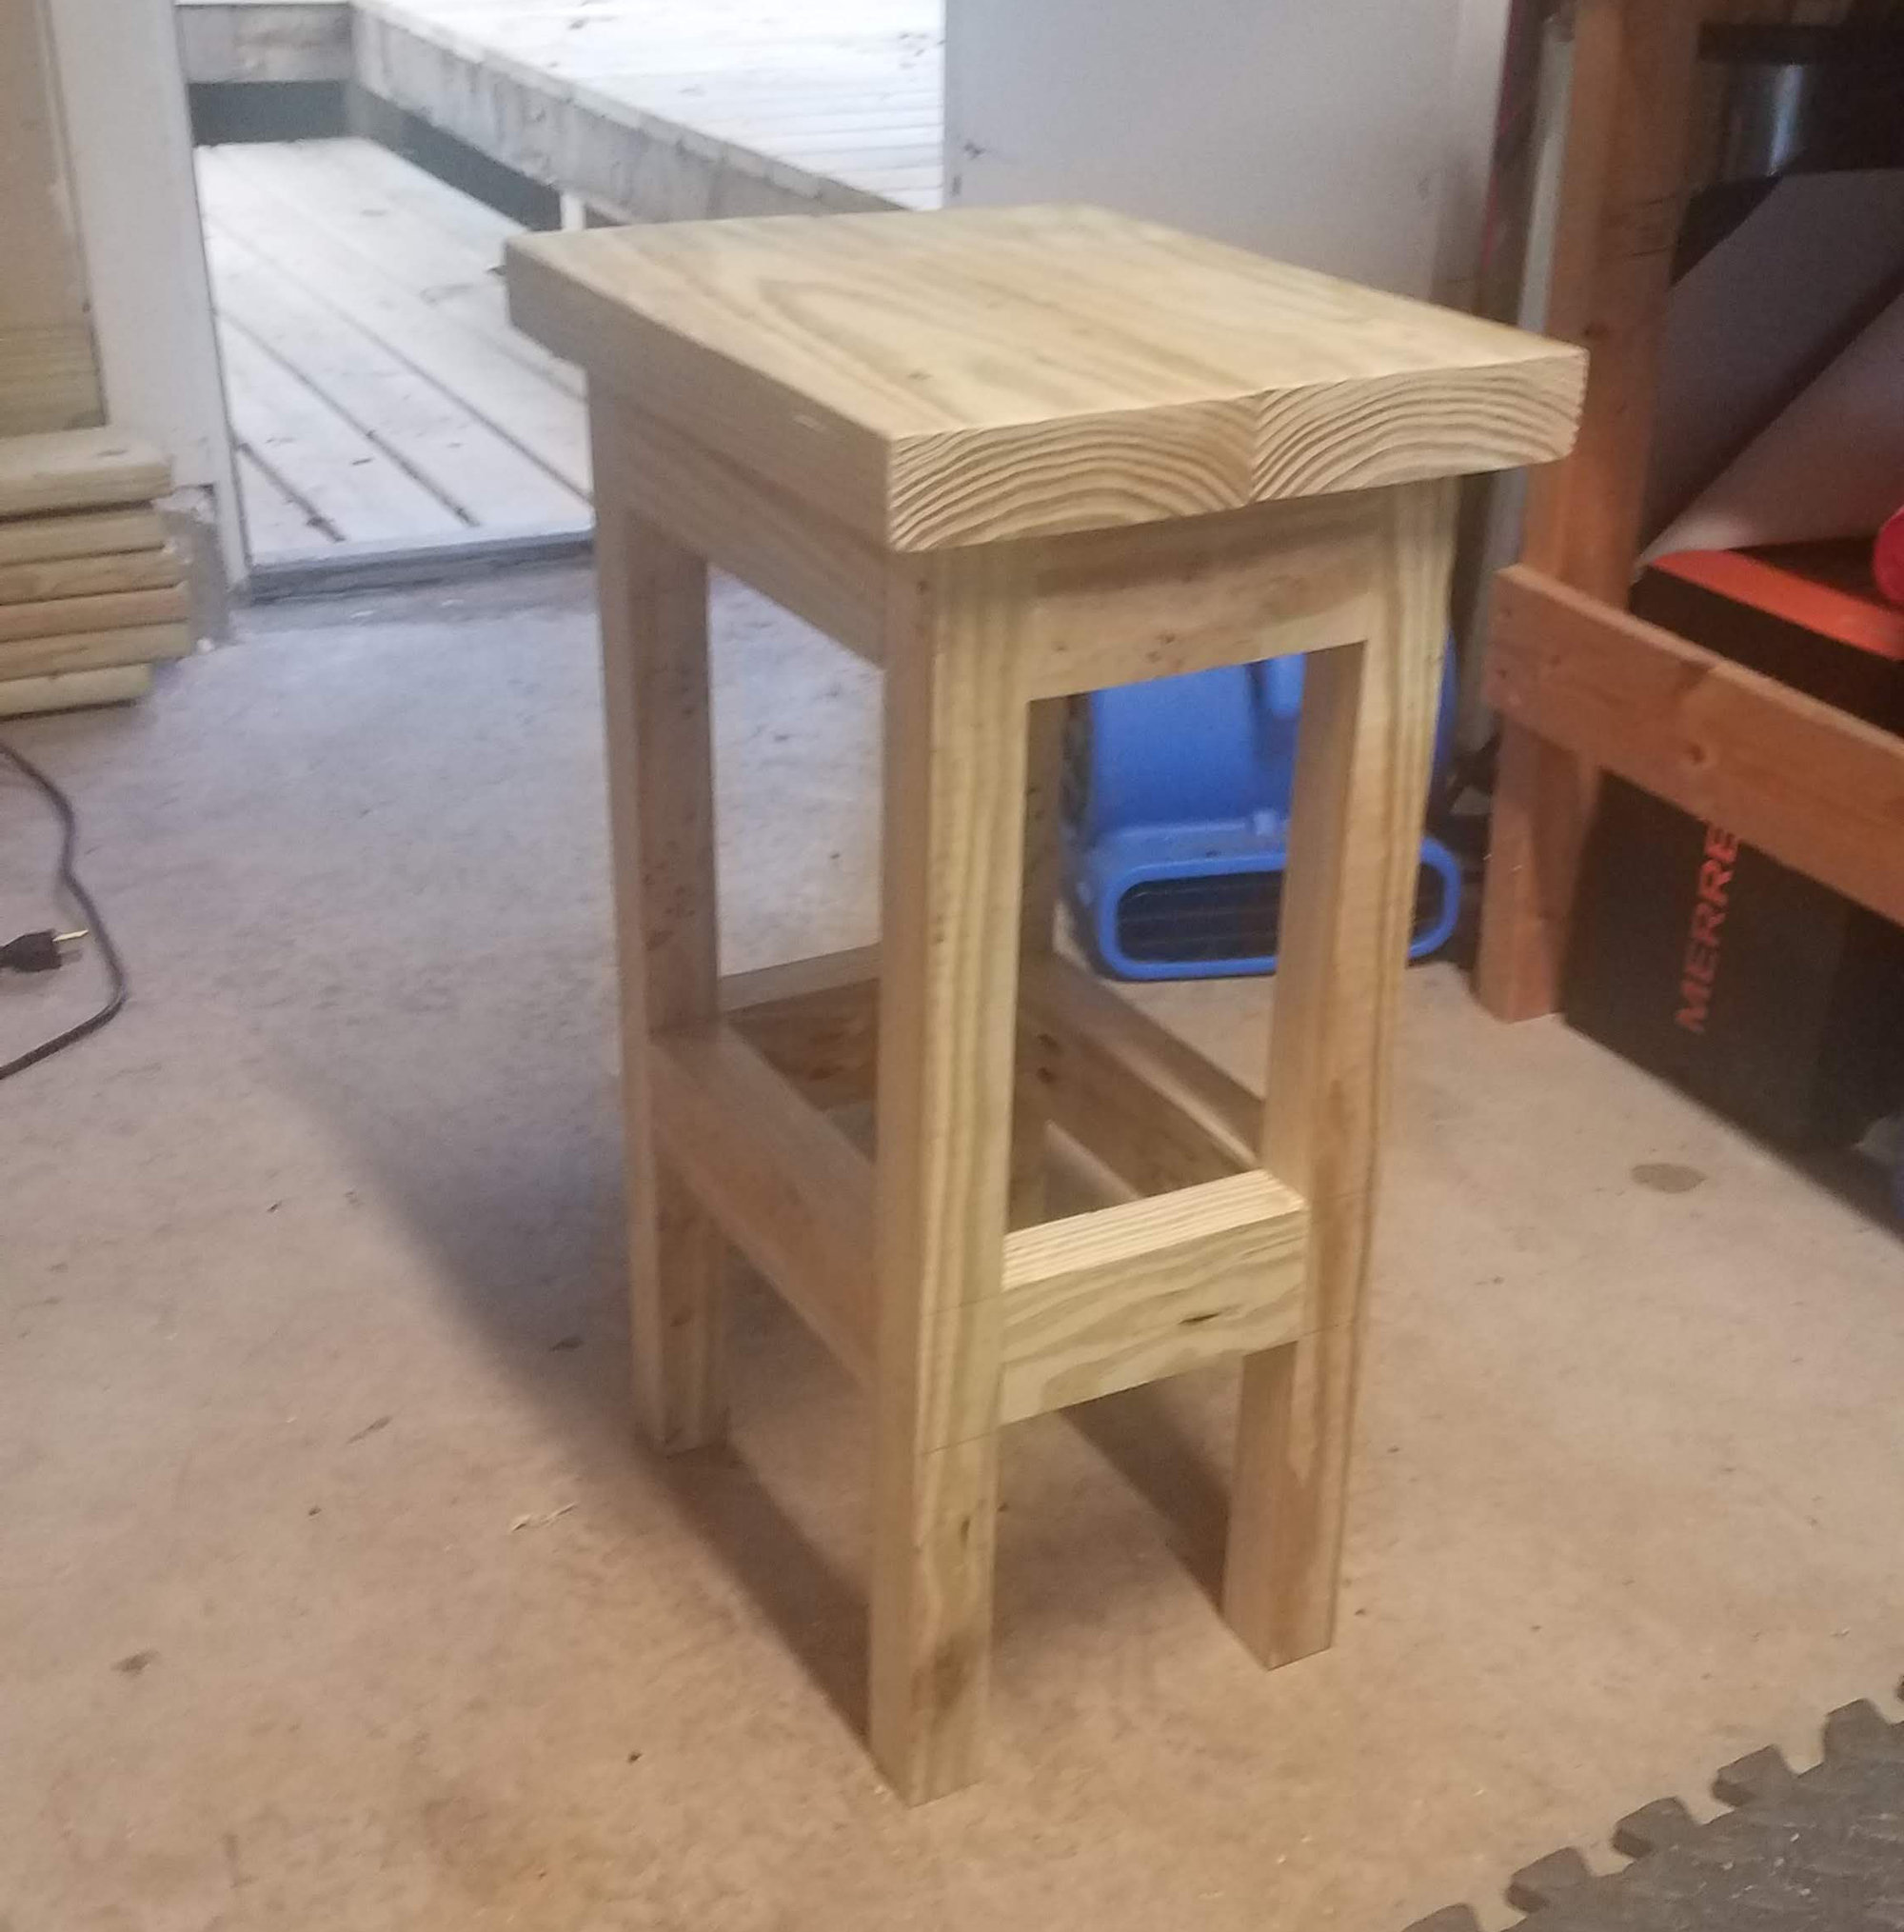
Sorry for the blurry photos, phone camera was smudged. The seat works great and it’s the right height, but I failed to attach the legs all at the same level (pocket screws, 90° driver shaft, not enough clamps, etc) so I had to cut down one leg a bit, and it’s still just a bit wobbly.
If I ever get a big sander, I’ll take it down to level.
Miter Saw Stand
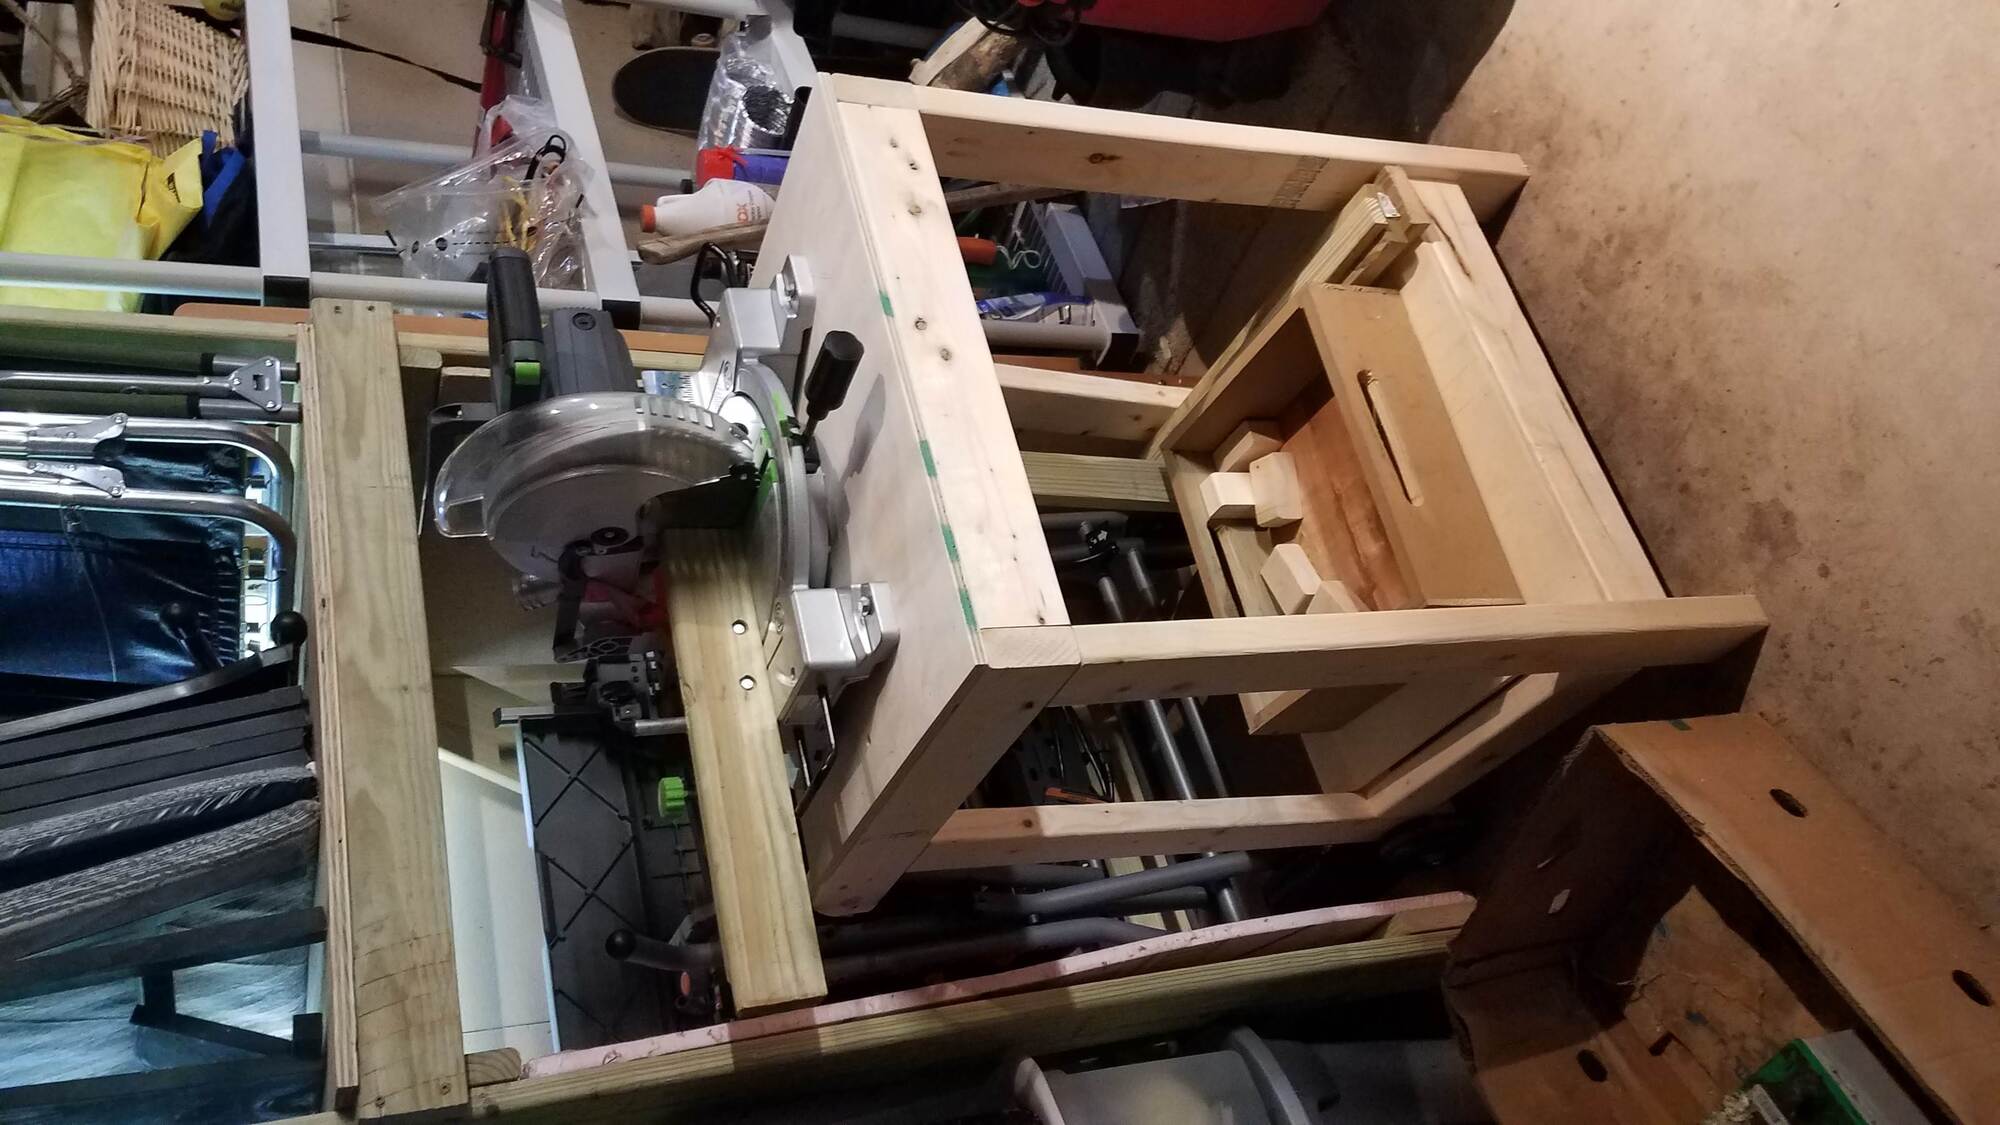
I should have taken photos when it was out in the garage and before everything was cleaned up, but there it is. It rolls around very easily and is nice and sturdy.
For the most part, the build itself went fine. I had a few modifications for this deal.
First, I had to drill some holes in my miter saw fence, because for some reason this cheap piece didn’t come with any. Good thing I had some cheap High Speed Steel drill bits on hand. I’m really tired of having to make multiple trips during the quarantimes to get stuff from the hardware store.
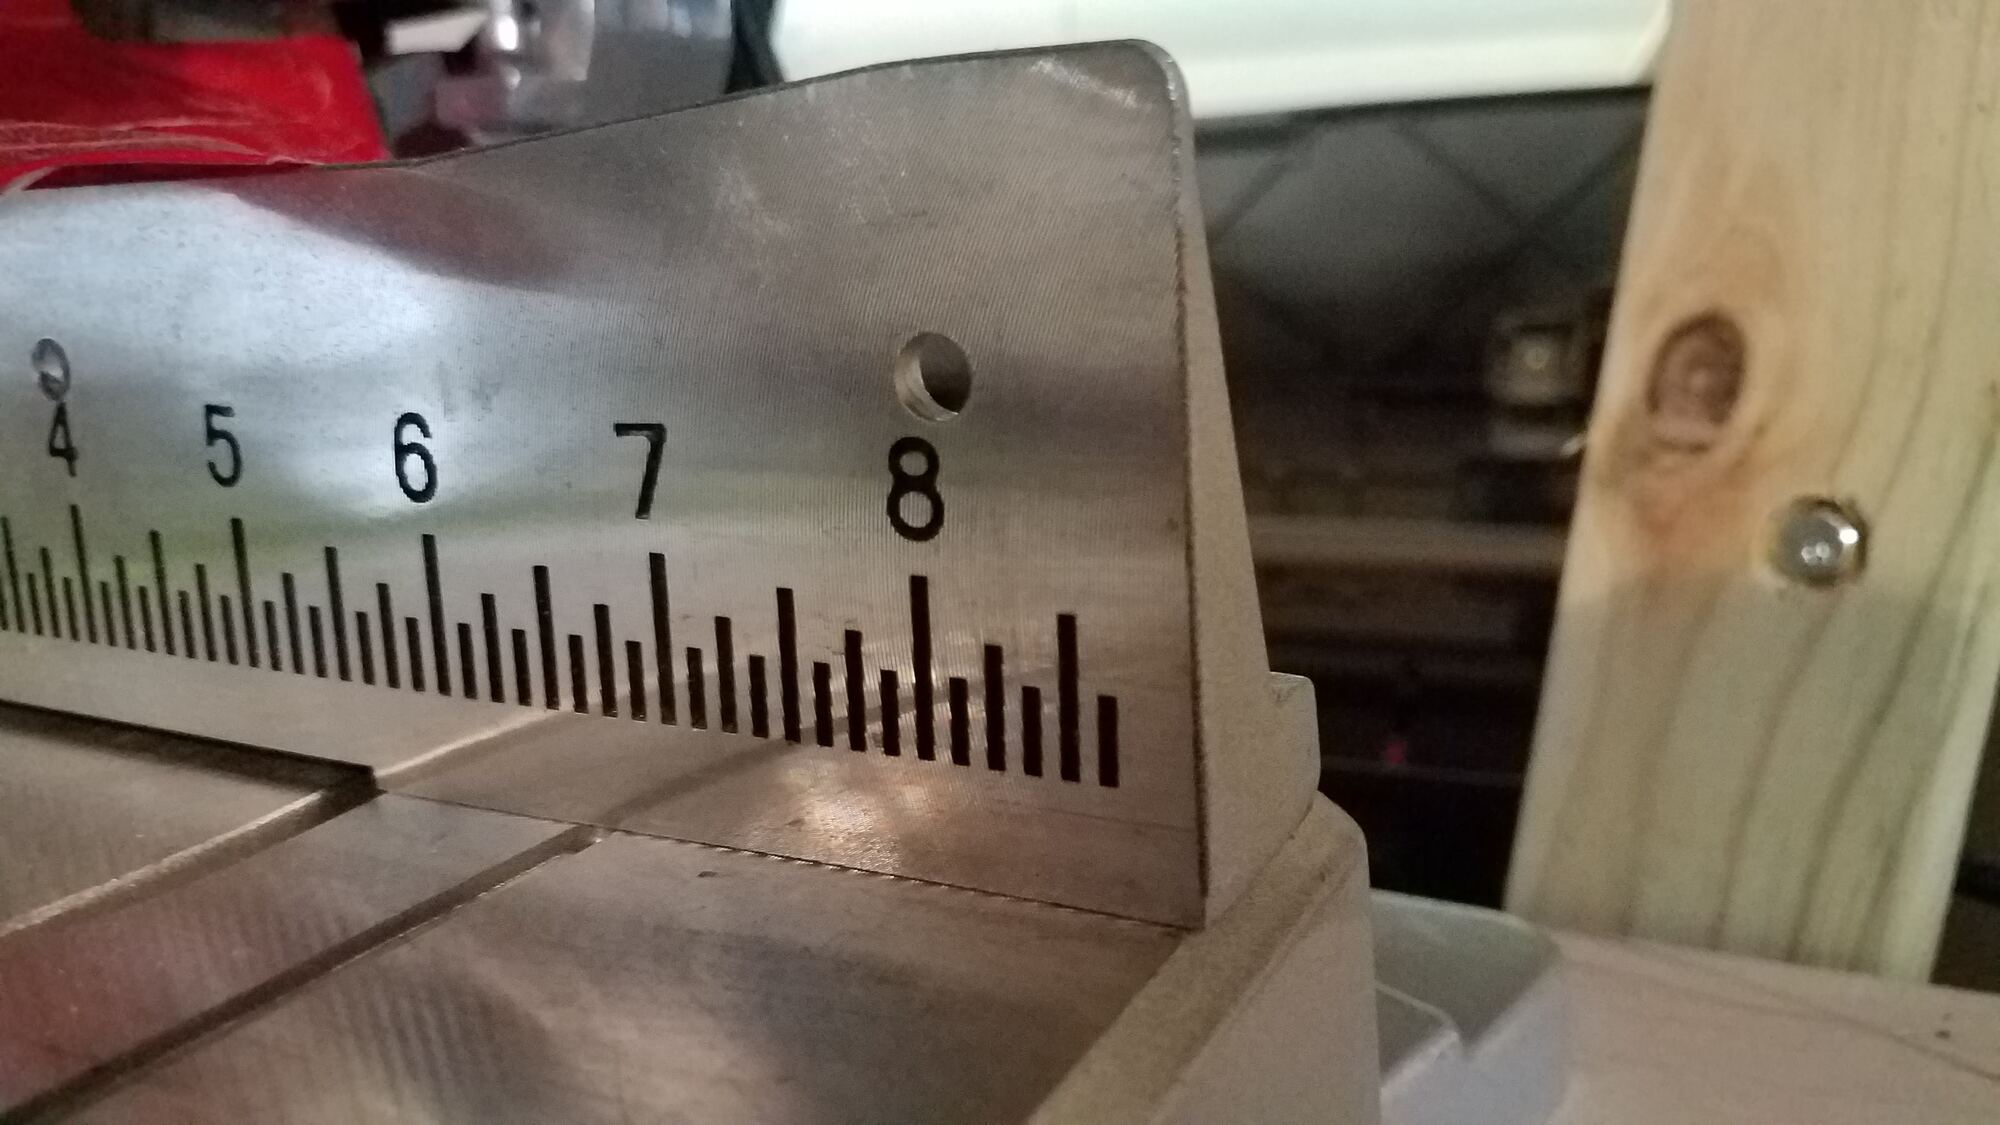
I butchered the placement on these, but they don’t need to be spectacular. I can drill holes in a new fence from the other side if I need to.
Secondly, instead of building the included wings for supporting the workpiece, I instead made insertable supports and cut some blocks that can be repositioned as needed.

They were my first test of the new saw stand, and the new fence, and the new fence’s stop block setup. Worked like a charm.
Rigt now I’m keeping them in the wooden box below the saw, but I make make some kind of holder for them.
Using my new air nailer to attach the shelves was a breeze and made me really appreciate having gotten the thing. I still need to make sure I give these tools enough of a workout to justify the expendature I made on them though.
Overall, the saw stand works great, and I’ve got a lot of stuff that I need to do with it:
- new fish tank base
- shelves for the shed
- shelves for the deck
- knife block
- kitchen step stool
- a new dining / D&D table
- hose reel for the garden
I also finally got the right size of rubber couplings for my shopvac so I have an enormous reach with the thing now. It’s pretty rad now that I can easily switch the hose from the table saw to the miter saw. It’d be cooler if I could set up some blast gates though. For that I’d need more hose and some time design some stuff for the 3d printer.